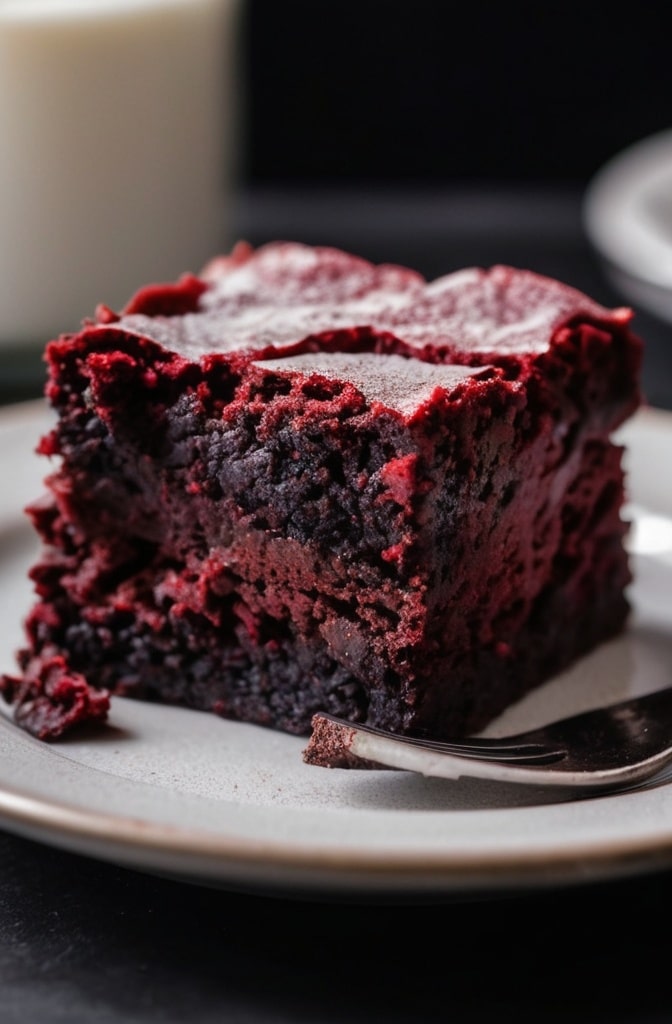
Red Velvet Brownies don’t just flirt with your sweet tooth—they seduce it. The first time I made a batch, I was trying to impress a pastry chef at a culinary retreat in Asheville. Halfway through the second bite, she looked up, eyes wide, and said, “These don’t even need frosting.” I laughed like a fool. Because she was right.
Red Velvet Brownies are something else entirely. Not quite cake, not exactly a traditional brownie. They sit somewhere in the middle. Fudgy. Rich. Deep cocoa flavour wrapped in that signature crimson hue. The texture is chewy on the edges but soft in the centre. And when you bite in, there’s this… velvety (yep, name checks out) creaminess that stops time for a sec.
Red Velvet Brownies aren’t just regular brownies in a red coat. They’ve got tang—from vinegar and buttermilk sometimes—plus a balanced hit of cocoa that isn’t overpowering. What makes them special? It’s the way they balance drama (hello, colour!) and restraint. A little chocolate, a little vanilla, a whisper of tang. And oh, when you do it right? Pure magic.
Ingredients & Substitutions
Red Velvet Brownies start with the basics—flour, sugar, butter—but they’ve got a few curveballs that make ’em sing.
- 1/2 cup unsalted butter, melted. Go for high-fat European-style if you wanna push richness.
- 1 cup granulated sugar. Fine caster sugar gives a slightly smoother crumb, if you’ve got it.
- 2 large eggs, room temp. Cold eggs will mess with the emulsion; don’t skip the warm-up.
- 1 tbsp red food colouring. Liquid or gel both work, but gel’s more vibrant with less mess.
- 1 tsp vanilla extract, real deal only. I swear, imitation vanilla tastes like a candle.
- 1/4 cup unsweetened cocoa powder, Dutch-process is best here. It gives that earthy depth.
- 2/3 cup all-purpose flour, spooned and levelled. Too much flour = cake. Not what we want.
- 1/4 tsp salt. Kosher or sea, neveiodiseded.
- 1 tsp white vinegar. That tiny bit of acid lifts the whole thing.
- Optional: 1/4 cup buttermilk for an extra moist, tangy texture—just reduce the butter slightly if adding.
Substitutions? Sure thing:
- No buttermilk? Use a splash of milk with a squeeze of lemon juice. Let it sit 5 mins.
- Gluten-free? Use a 1:1 flour blend with xanthan gum built in. You’ll lose some chew, but it’ll still be killer.
- Vegan? Sub with flax eggs, dairy-free butter, and skip the buttermilk. Texture changes a bit, but still lush.
Ingredient tip—use Dutch-process cocoa if you can. It’s less acidic and gives a smoother, darker profile. Natural cocoa works, but the tang may fight the vinegar a bit.

Step-by-Step Instructions
Red Velvet Brownies start like most brownies—by melting the butter. But from there, things go a little sideways in the best way.
Step 1: Melt butter & mix in sugar. You want the sugar to almost dissolve into the warm butter. It should look glossy and thick, kinda like molasses. This step’s key for getting that crackly top.
Step 2: Add eggs one at a time. Beat hard. Like, beat ‘em in. This adds structure. Don’t under-mix here or you’ll get greasy streaks. Also, this helps with that shiny crust. (Brownie lovers know what I mean.)
Step 3: Stir in food colouring, vanilla, and vinegar. Now things get weird-looking. The vinegar might smell a bit sharp—that’s normal. The red? It should be vivid, almost unnatural. That’s what we’re goin’ for.
Step 4: Sift cocoa, salt, and flour together. Don’t skip sifting. Cocoa can clump like nobody’s business, and if you dump it straight in, it won’t mix right.
Step 5: Fold dry into wet. Gently. Think brownie zen. Don’t overmix or you’ll get rubbery bars. Stop when you don’t see flour streaks anymore.
Step 6: Pour into greased 8×8 pan. Use parchment if you hate scrubbing. Smooth the top with an offset spatula—it should settle naturally like thick lava.
Step 7: Bake at 350°F (175°C) for 25–30 minutes. Edges should be set. Center will jiggle just a little. Toothpick should come out with moist crumbs, not batter.
Red Velvet Brownies hate overbaking. They’ll turn dry on you real quick. Rather pull ’em a minute too early than a minute too late.
Want a twist? Swirl in some cream cheese before baking. Just dollop, swirl with a knife, and bake as usual. Kinda like red velvet cheesecake bars, but way easier.
Cooking Techniques & Science
Red Velvet Brownies rely on emulsion and balance.
Creaming isn’t necessary here. The melted butter method helps achieve that dense, fudge-like interior we want. Beating the eggs into warm butter also plays a role—it helps form that delicate sugar crust on top.
Cocoa powder here is more flavor background than star. It shouldn’t shout “chocolate!”—just whisper it. That’s why the amount is so low. Dutch-process gives that earthy, smooth taste and darkens the color beautifully.
The vinegar and baking soda dance—in classic red velvet cake—usually creates lift. In these brownies, we use just a kiss of vinegar for flavor and color pop, but not enough to rise like a cake. No leavening needed. Brownies should sink into themselves, not puff up like muffins.
Colour chemistry matters. Natural cocoa is more acidic, which dulls food colouring. That’s why Dutch-process is better for the vibrant red—less acidity to fight the dye.
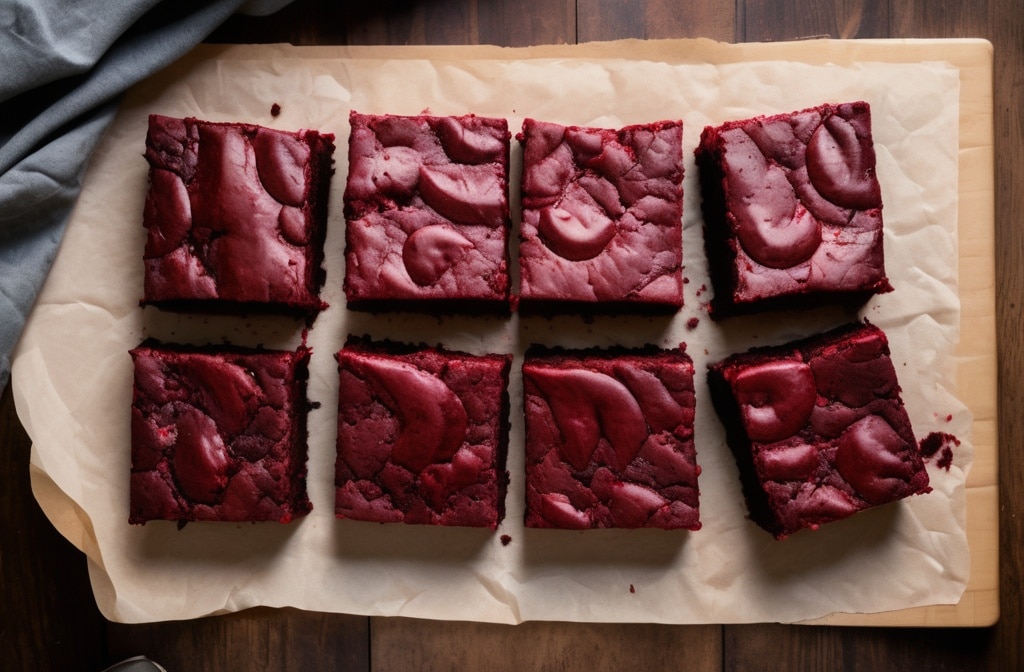
Tools that matter? Metal pan over glass. Always. Glass heats unevenly, so you’ll get overbaked edges and undercooked centers. Use a good offset spatula to level batter. Clean cuts come from a hot, wiped knife—run it under hot water first.

Serving & Pairing Suggestions
Red Velvet Brownies don’t need much, but they can handle a lot.
Serve warm with a scoop of vanilla bean ice cream. Not regular vanilla. Vanilla bean. Those little specks of heaven take it to the next level.
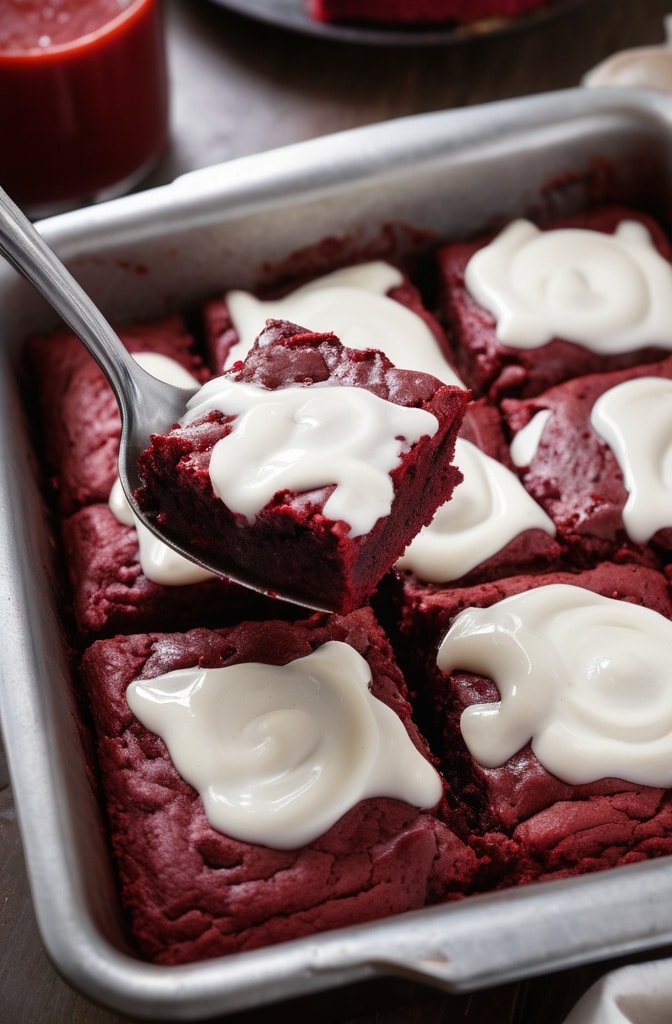
A drizzle of melted white chocolate? Wildly indulgent. Or do a cream cheese glaze: mix 2 oz softened cream cheese with 1/4 cup powdered sugar and a splash of milk. Drizzle, don’t drown.
Wanna be fancy? Cut into hearts with a cookie cutter. Dust with powdered sugar. Serve onthe slate. Boom—Valentine’s Day dessert that makes restaurant pastry chefs weep.
Pair with espresso, black coffee, or something sharp like a sparkling rosé. Sweet-on-sweet is fun, but bitter or bubbly cuts the richness beautifully.
Conclusion
Red Velvet Brownies are the moody cousin of the classic brownie—and maybe the more interesting one.
They’ve got texture. They’ve got colour. They’ve got flavour layers that reveal themselves slowly: a hint of cocoa, a backnote of tang, a warm vanilla glow. They don’t punch you in the face. They whisper. Then they linger.
Final expert tip? Let them rest overnight, tightly wrapped. Next-day Red Velvet Brownies hit different. Chewier. Fudgier. Flavour deeper.
Don’t be afraid to make ‘em your own. Swirls, chunks, drizzles, nuts (walnuts or white choc chips go crazy in here)—go nuts. Or don’t. They’re stunning, even plain.
FAQs
Can I make Red Velvet Brownies without food colouring?
Yep! They’ll taste just as great, but lose the signature red. Try beet powder if you want a natural alternative—it’ll give a more muted red but works in a pinch.
Why are my brownies dry?
Probably overbaked. Pull them out when the centre still has a bit of wobble. Also double-check your flour measurement—too much flour sucks all the moisture away.
Can I freeze Red Velvet Brownies?
For sure. Wrap them individually in cling film and freeze up to 2 months. Thaw at room temp or nuke gently in the microwave to bring ‘em back to life.
What kind of cocoa should I use?
Dutch-process is ideal for color and smooth flavor. Natural cocoa will work, but the red might look duller and the flavour a bit sharper.
Can I add frosting?
You can, but you don’t have to. A cream cheese frosting or glaze is classic, but these are rich enough to stand alone.
Want a version with a surprise filling or a seasonal twist next?

Olivia P. is a seasoned food blogger at Tastywink, sharing delicious, easy-to-follow recipes inspired by him passion for home cooking. With years of culinary blogging experience, he brings flavor, creativity, and a personal touch to every dish.
