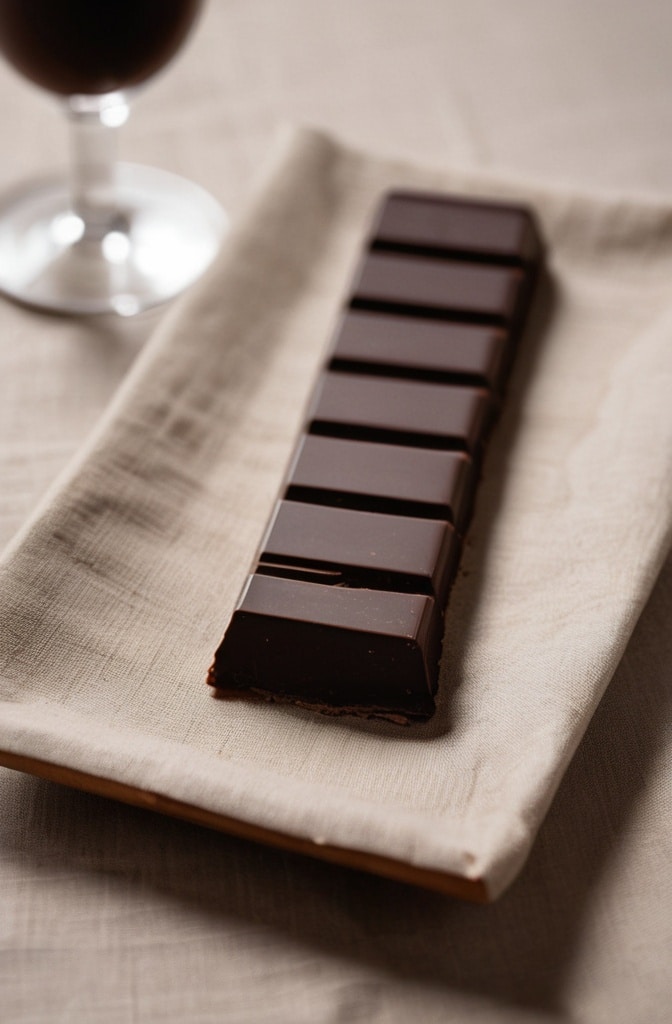
Have you ever bitten into a piece of dark chocolate and suddenly everything feels quieter? Like your tastebuds just told your brain, “Hey, give me a sec—I’m doing something important.” That’s the power of real, handmade dark chocolate. And once you make your bar, with your own hands, tasting the difference… You won’t look at store-bought ones the same again.
How to Make Dark Chocolate Bars is not just a recipe—it’s a ritual. A blend of science and sensuality, of ancient techniques and precision timing. At its core, it’s three ingredients: cacao, cocoa butter, and sugar. But oh buddy, don’t let that simplicity fool you. Every step has secrets, and we’re spilling ‘em all here.
How to Make Dark Chocolate Bars becomes something special when you’re the one choosing the cacao origin, the roast depth, the sugar grind. You’re not just making candy. You’re sculpting edible art.
Ingredients & Substitutions
How to Make Dark Chocolate Bars begins with picking the right cacao. You want cocoa nibs or cocoa mass (a.k.a. liquor), not cocoa powder. Powder’s had its fat stripped. We want full-body richness.
- Cacao nibs or mass – 200g (You can sub in pre-made 100% chocolate if you don’t wanna roast and grind. But c’mon. Be bold.)
- Cocoa butter – 50g (Refined = no flavour, raw = has its own nutty thing goin’ on. Choose your path.)
- Powdered sugar – 100g (Not granulated, please. It won’t melt right. Can also use coconut sugar, ground to dust.)
- Optional: Lecithin – 1 tsp (Improves texture, makes it snap like store bars. Sunflower or soy.)
- Optional: Vanilla bean paste or powder – just a smidge (Enhances roundness, adds warmth.)
How to Make Dark Chocolate Bars lets you play with extras, too. Want spice? Add chipotle. Crunch? Add puffed quinoa or cacao nibs back in. Sweet tooth tingling? Swap some sugar for maple powder.
Step-by-Step Instructions
How to Make Dark Chocolate Bars starts by prepping your cacao.
Step 1: Roast (skip if using liquor.) Spread nibs on a baking sheet. Roast at 120°C (250°F) for 15–20 minutes. Stir halfway. The room will smell like ancient temples and burnt brownies. Stop roasting when the nibs smell deep, nutty, but not bitter. Under-roasted? They’ll taste sour. Over? Burnt tires.
Step 2: Grind the cacao Use a melanger (stone grinder) if you’ve got one. Or a high-speed blender/food processor, in pulses, so it doesn’t overheat. You’re grinding till it becomes smooth, shiny paste—this is cocoa liquor. This might take a while—like, hours if you’re doing it old-school. It’s worth it.
Step 3: Melt the cocoa butter Gently melt it over a double boiler. Not in the microwave. That’s how you ruin magic.
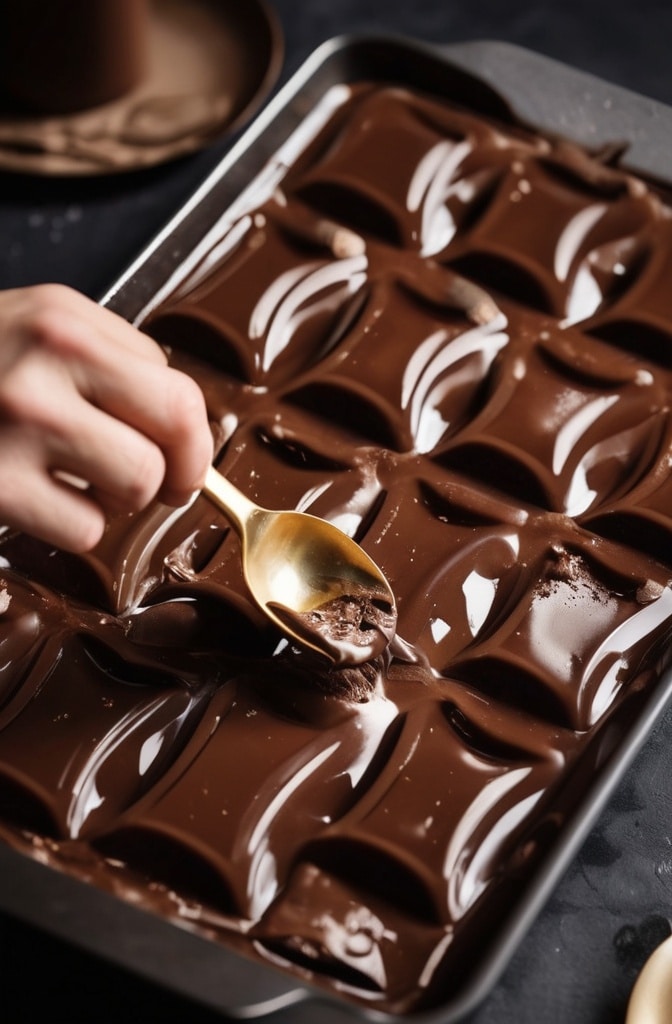
Step 4: Combine. Add your melted cocoa butter to the liquor. Slowly stir in powdered sugar. If using lecithin or vanilla, now’s the moment. Blend well. Mix until glossy and pourable. If it’s gritty, keep mixing. If it separates, gently warm and stir till it comes back together.
Step 5: Tempering Ah, tempering. The heartbreak and the glory. This is what gives your chocolate that beautiful snap and sheen.
You’ve got 3 main methods:
- Tabling – Pour 2/3 of the melted mix onto a marble slab. Move it around with a spatula. Cool it to 27°C (80°F). Then rewarm the full batch to 31°C (88°F).
- Seeding – Add chopped tempered chocolate (that you already made or store-bought) into your warm batch, stir till smooth.
- Sous-vide or machine – Easy mode if you’ve got the toys. Set and forget.
Don’t skip tempering. Untempered chocolate goes dull and crumbly. Looks like regret.
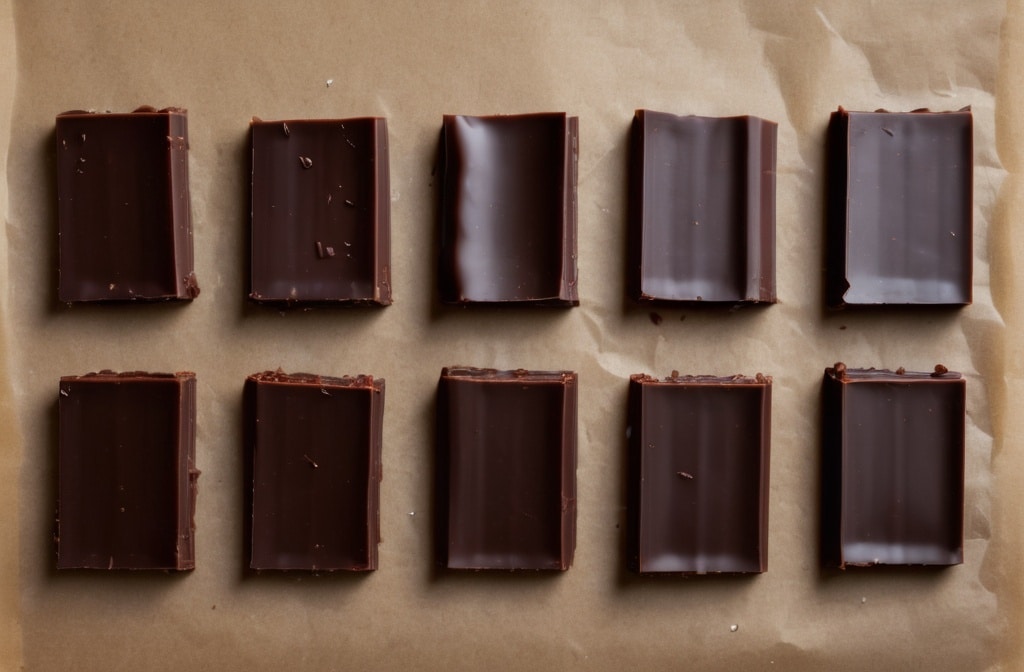
Step 6: Pour & Set Pour the tempered chocolate into moulds. Tap to remove air bubbles. Let it sit at room temp (18–20°C / 64–68°F) for a few hours. Or fridge if you’re impatient. But room temp = best texture.

Cooking Techniques & Science
How to Make Dark Chocolate Bars thrives on precision and patience.
Tempering is all about crystal structure. Cocoa butter has six forms. Only one—Form V—gives that glossy snap. You get it by carefully heating, cooling, and reheating. Skip it? Your chocolate gets chalky, bloomy, or crumbly. Sadness incarnate.
Roasting your nibs develops Maillard reactions. It’s the same chemistry that gives seared steak its oomph. Roast too hot? You destroy delicate floral notes. Too low? You get raw, sour funk. Think of it like tuning an instrument.
Grinding is everything. Without a stone melanger, your chocolate may have some grit. Some folks love it—it feels rustic, bold. But if you want that silky European finish, grind for hours. Literally. Conching chocolate (grinding + aeration) is what mellows acidity and makes it smooth as velvet.
How to Make Dark Chocolate Bars also demands the right tools. A decent digital thermometer is essential. A cheap mould warps. A silicone spatula? Gold. Precision beats brute force every time in chocolate work.
Serving & Pairing Suggestions
How to Make Dark Chocolate Bars is all about the experience, not just the taste.
Serve your bar at room temperature. Cold chocolate mutes flavour. Let it melt slowly on the tongue—like wine, don’t chew. Let it speak.
Pair it with a glass of full-bodied red wine, like Zinfandel or Shiraz. Or go the unexpected route: smoked tea, barrel-aged bourbon, or salted almonds.
Try a sprinkle of sea salt or rose petals on the mold before pouring. Adds texture, beauty, and contrast.
Gift your bars wrapped in wax paper and twine. Homemade never looked so luxe.
Conclusion
How to Make Dark Chocolate Bars is a deep dive into flavour, texture, and tradition.
You’re not just melting things together. You’re balancing chemistry, craftsmanship, and courage. Every step matters. From the roast to the snap. The quality of your sugar. The patience of your stir.
Yes, it’s easier to buy a bar. But no bar, not even your fav \$7 one, will taste like the one you made. That’s the beauty of it. Real chocolate, made with your hands, hits different.
Let your chocolate tell a story. Yours.

FAQs
Can I make dark chocolate without a melanger?
Yes, but it’ll be gritty. A high-powered blender can get you halfway there. Grind, rest, pulse. Still, if you’re chasing that silky finish, a melanger is worth the splurge.
How do I fix the chocolate that bloomed?
If it looks chalky or streaked? That’s bloom. You can re-temper it! Melt, cool, reheat with care. But once bloomed, it never looks 100% again—best to use it in ganache or baking.
What’s the best cacao percentage for dark bars?
Totally personal. 70% is the classic sweet spot—balanced but bold. 85% gets intense, almost savoury. Try small batches with different ratios and see what sings.
Can I add nuts or fruit?
Absolutely. Add roasted almonds, dried cherries, candied ginger—whatever. Just make sure they’re dry (no moisture!) and fold them in after tempering.
Why does my chocolate feel waxy?
Could be poor-quality cocoa butter or too much fat added. Some folks use compound coatings or non-cocoa fats, which mess with mouthfeel. Stick to pure ingredients, and temper right.

Olivia P. is a seasoned food blogger at Tastywink, sharing delicious, easy-to-follow recipes inspired by him passion for home cooking. With years of culinary blogging experience, he brings flavor, creativity, and a personal touch to every dish.
