If you’ve ever dipped a cookie into milk and found that perfect balance of crispy, creamy goodness, you know why Chocolate Covered Oreos are so addictive. There’s just something about that sweet, rich chocolate coating wrapped around the iconic Oreo that makes it a go-to treat. Whether you’re making them for a party, a snack, or a simple gift, these cookies are a crowd-pleaser. The best part? You don’t need to be a professional chocolatier to master this. Let’s dive into the world of chocolate-covered Oreos and why they deserve a spot in your sweet creations.
Ingredients & Substitutions
Chocolate-covered Oreos are a simple indulgence. But don’t let that fool you—getting the right ingredients makes all the difference.
Here’s what you’ll need:
- 1 package of Oreo cookies
- 12 oz of high-quality chocolate (milk, dark, or white, depending on preference)
- 2 tbsp vegetable oil or coconut oil (this thins the chocolate for a smoother coating)
- Optional toppings: sprinkles, crushed nuts, sea salt, or drizzled white chocolate
Now, substitutions. Maybe you’re vegan? Swap the Oreos for the vegan version—they exist, and they’re surprisingly tasty! Allergic to chocolate? You could go for a carob coating instead. Looking for a richer taste? Dark chocolate is your friend—go for 70% cocoa or higher for a sophisticated flavor. If you don’t have vegetable oil, coconut oil adds a lovely hint of flavour and will give the coating a glossy finish.
Pro tip: Always use fresh chocolate for the best texture. Old chocolate can seize up or become grainy. Trust me, it matters.
Step-by-Step Instructions
Making Chocolate Covered Oreos is easy, but some tips will help make them just right.
- Melt the chocolate. You can use the microwave or a double boiler. If you use the microwave, heat in 30-second bursts and stir in between. For the double boiler, gently melt the chocolate over simmering water—don’t let it touch the water! Add the oil when the chocolate’s about halfway melted. It’ll help thin the chocolate and give that perfect smoothness.
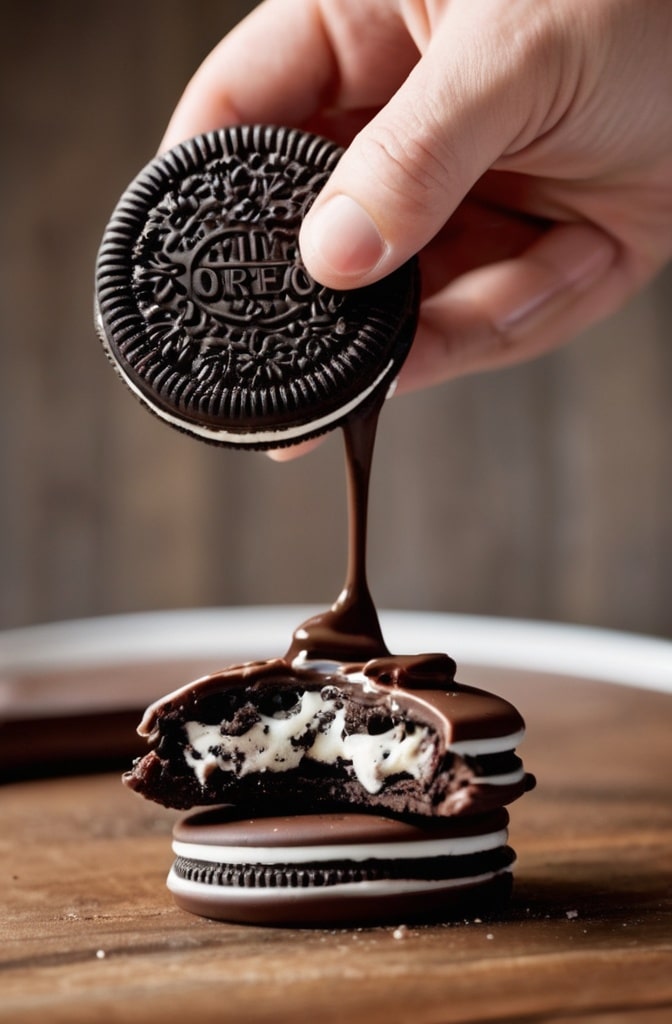
- Dip the Oreos. Grab a fork or a dipping tool, and carefully submerge each Oreo in the melted chocolate. Be sure to coat it well but not too thick. You don’t want to lose that satisfying crunch! Tap the fork on the side of the bowl to let the excess chocolate drip off.
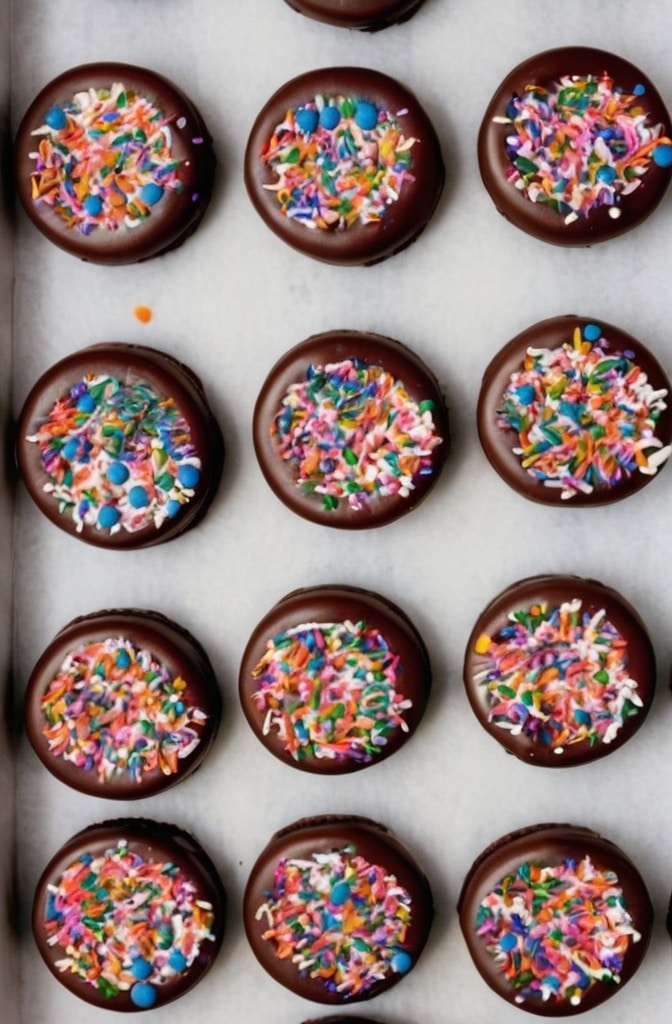
- Let them cool. Place the dipped Oreos on a parchment-lined baking sheet and let the chocolate harden. You can speed up the process by placing them in the fridge for 10–15 minutes. If you’re feeling extra fancy, drizzle some white chocolate on top or add your toppings of choice before the chocolate hardens.
Common mistake: Don’t dip the Oreos when the chocolate is too hot! It can cause the filling to squish out, and that’s a mess you don’t want. Let it cool a little before dipping.

Cooking Techniques & Science
You might be wondering: why melt the chocolate gently? Why add oil? Here’s the thing. Chocolate’s delicate. Heat it too quickly, and it’ll seize up, becoming clumpy and unusable. Gently melting it ensures you get a smooth, glossy finish that’s just right for dipping.
The addition of oil is key. It not only thins the chocolate but also gives it a shiny, professional look. Plus, it helps the chocolate set properly, so it doesn’t crack when you bite into it.
It’s tempting to grab any old chocolate, but high-quality chocolate is the secret to a premium taste. You’ll notice the difference when you bite into that smooth, melt-in-your-mouth coating. And when choosing between milk, dark, or white chocolate? Go with what makes your tastebuds sing. But don’t sleep on dark chocolate—its rich bitterness pairs so well with the sweet filling inside the Oreo.

Serving & Pairing Suggestions
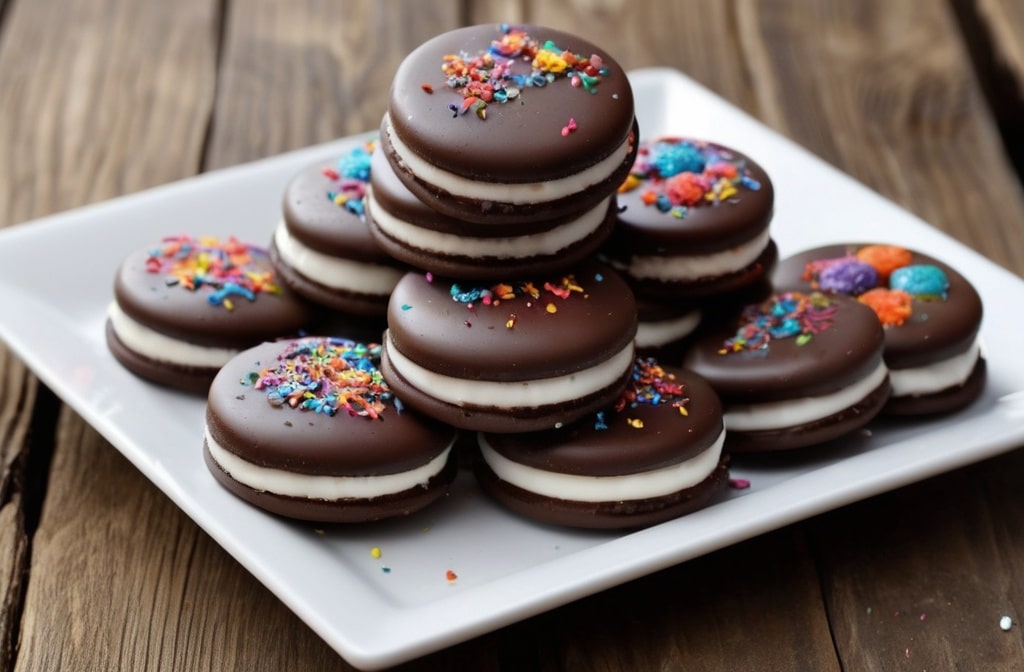
Chocolate-covered Oreos are great on their own, but let’s take them to the next level. Serve them on a plate with a drizzle of caramel or raspberry sauce, for example. That little extra touch elevates them from simple to spectacular.
Pair them with a glass of cold milk for a nostalgic combo, or perhaps a cup of hot coffee if you’re after a sweet-and-bitter contrast. If you’re entertaining, place them on a dessert platter with other dipped cookies or chocolates, adding variety to the spread. They also pair beautifully with wine, especially a rich, fruity red like a Zinfandel.
Pro tip: You can even get creative with flavour pairings. A dash of sea salt on top of the chocolate adds a savoury twist that brings out the sweetness of the filling.
Conclusion
So, why are Chocolate Covered Oreos so special? It’s not just about the simplicity of dunking a cookie in chocolate—it’s about the balance of textures afand The crispy, crunchy Oreo with its sweet, creamy filling is elevated by the smooth, glossy chocolate shell. Every bite is an experience, from the initial crunch to the soft, melted chocolate that coats your mouth.
And the best part? You can customise these treats however you like. Play with different chocolates, toppings, or even flavour the chocolate itself. Make them your own!
FAQs
What kind of chocolate is best for dipping Oreos?
The best chocolate for dipping is one that melts well and has a smooth texture. High-quality milk or dark chocolate works beautifully, but feel free to experiment with white chocolate or even flavoured options like mint or raspberry.
Can I make Chocolate Covered Oreos ahead of time?
Absolutely! You can make them a few days in advance. Store them in an airtight container at room temperature, or if you want to keep them extra fresh, refrigerate them.
How do I make Chocolate Covered Oreos for a party?
For a party, try different variations. Use colored sprinkles, edible glitter, or drizzle different types of chocolate on top. You could even make themed ones for holidays, like Halloween-themed Oreo pops or red and green for Christmas.
Can I use gluten-free Oreos for Chocolate Covered Oreos?
Yes, you can easily use gluten-free Oreos in this recipe. They’re just as delicious, and no one will even notice the difference!
Why is my chocolate too thick to dip Oreos?
If your chocolate is too thick, it means you probably didn’t melt it with enough oil. Adding more oil or a bit of milk will help thin it out and make the dipping process smoother.

Olivia P. is a seasoned food blogger at Tastywink, sharing delicious, easy-to-follow recipes inspired by him passion for home cooking. With years of culinary blogging experience, he brings flavor, creativity, and a personal touch to every dish.
