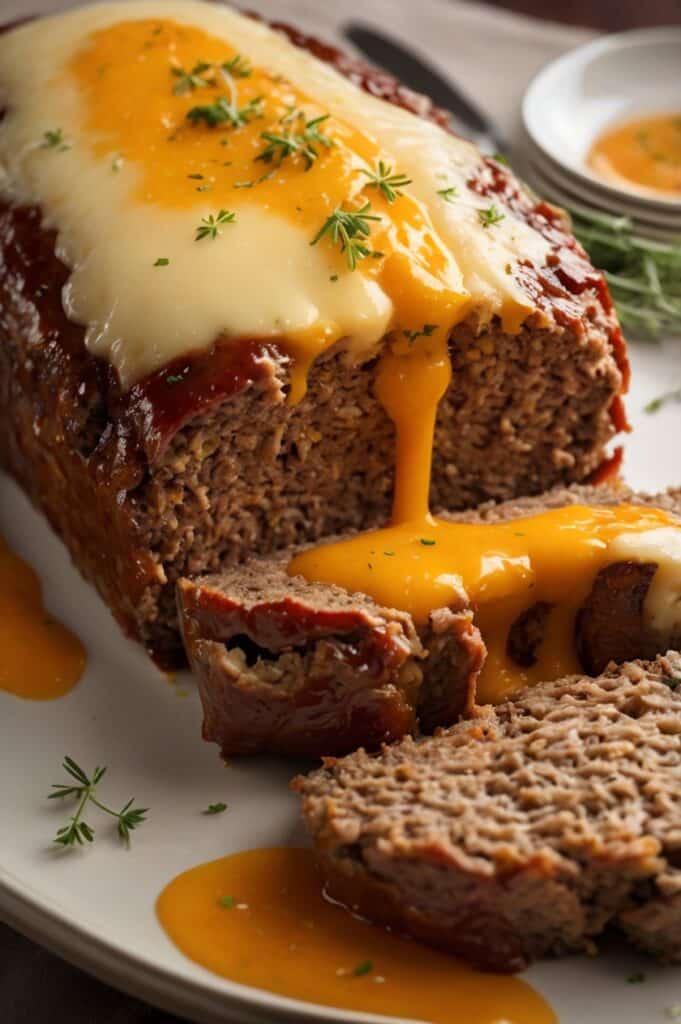
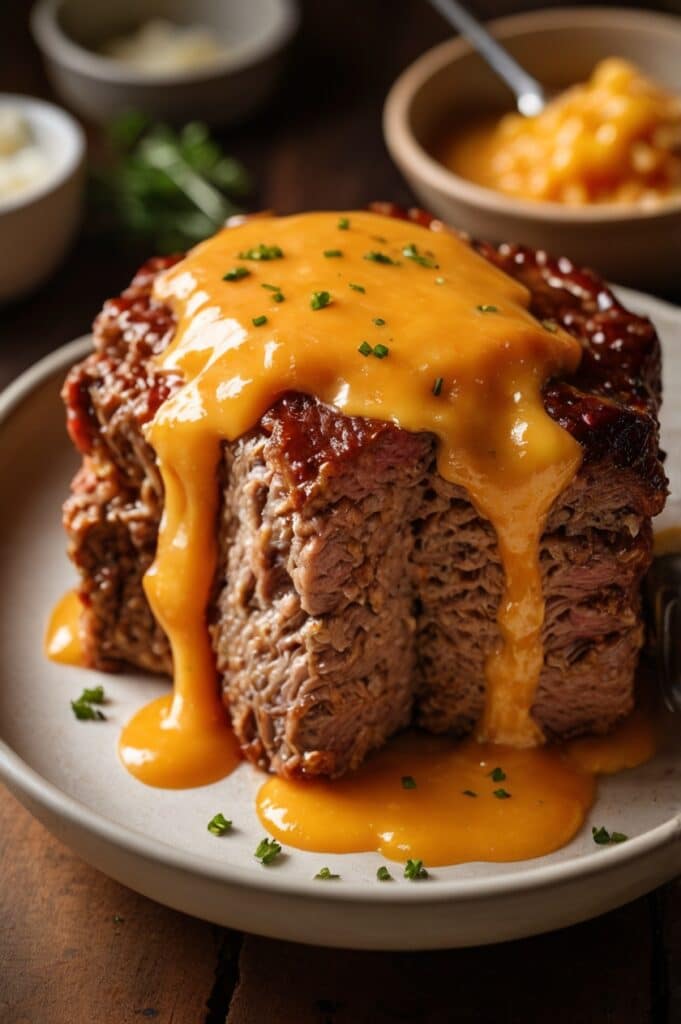
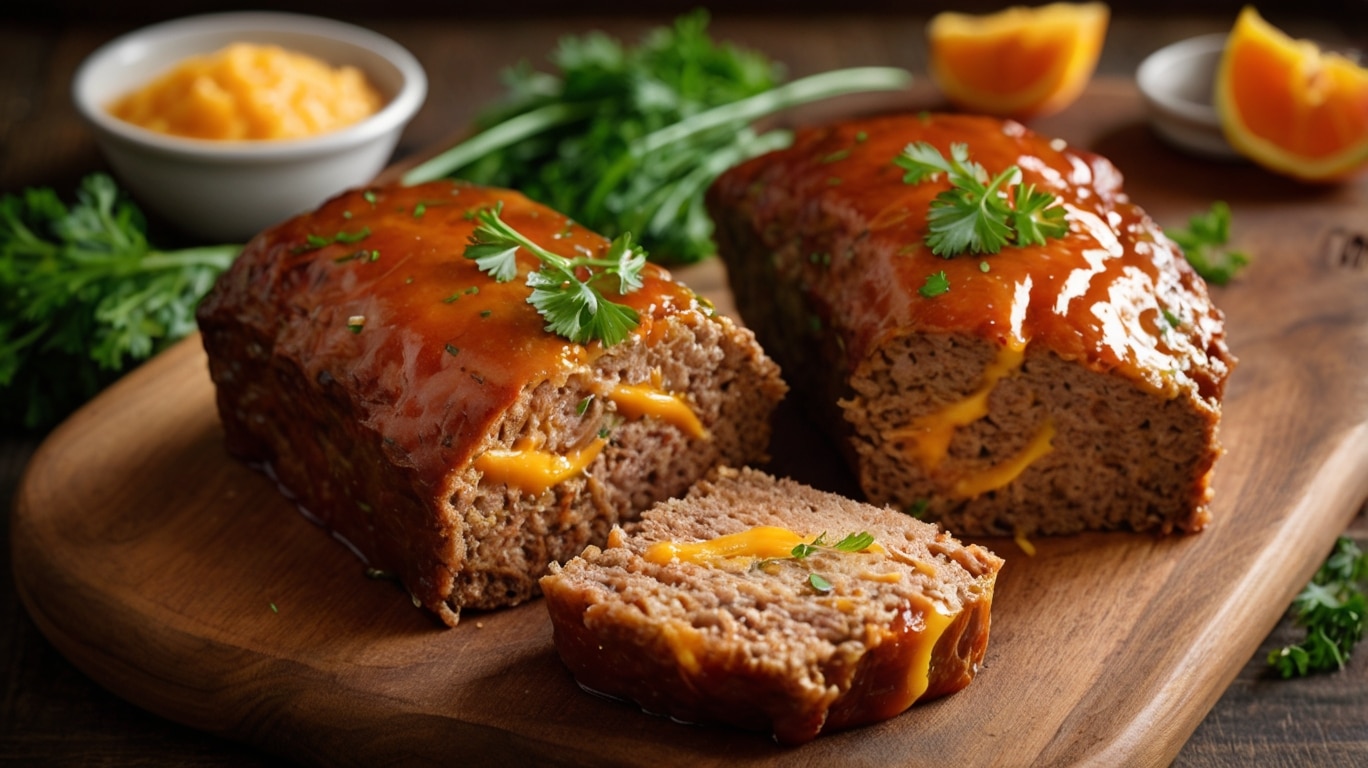
Ever taken a bite of something that feels like a warm hug from your childhood and a flavor explosion you didn’t see coming? That’s what happened the first time I made cheddar-stuffed meatloaf morsels for a weekend dinner party. They were supposed to be casual—something easy to nibble while sipping cold beer. But nope. These lil’ cheesy bombs got passed around like candy at a kid’s party. People were straight-up fighting over the last one.
Cheddar-Stuffed Meatloaf Morsels are bite-sized meatloaf pieces, each one hiding a gooey core of sharp cheddar. It’s meatloaf, but fun-sized. And way more exciting than that old-school ketchup-glazed loaf your uncle used to dry out. These have crispy edges, tender centers, and that buttery cheddar hit right in the middle. They’re irresistible, y’all. Like if a slider, a cheese puff, and Sunday dinner had a delicious little baby.
Cheddar-Stuffed Meatloaf Morsels are also versatile. Appetizers, main course, game day finger food, freezer meals—you name it. And the stuffing? Oh, honey, it ain’t just cheddar if you don’t want it to be. Jalapeño jack, smoked gouda, vegan mozz? We got options. Let’s break this down, pro-style.
Ingredients & Substitutions
Cheddar-Stuffed Meatloaf Morsels need quality ingredients to hit that craveable mark. Here’s your base lineup:
- 1 lb ground beef (80/20) – Fat matters. Lean beef = sad, dry meat. Go juicy.
- ½ lb ground pork – Boosts flavor and tenderness. Sub with turkey if needed, but add more fat (olive oil, maybe even some bacon fat… don’t judge).
- 1 cup breadcrumbs (preferably fresh) – Soak up juices and keep the morsels tender. Panko works in a pinch. Avoid flavored ones unless you wanna taste stale oregano from 2007.
- ½ cup whole milk – Activates the breadcrumbs. Almond or oat milk’s fine too, but skip the vanilla kind unless you’re tryna ruin dinner.
- 1 egg – Binds everything. No subs here unless you’re veganizing the whole thing.
- 1 small yellow onion, grated – Grated, not chopped. Big chunks mess with the texture. You want onion vibe, not onion crunch.
- 2 cloves garlic, minced – Obvious. If you’re lazy, garlic paste works. Just not powder.
- 2 tsp Worcestershire sauce – Adds umami. Don’t skip this unless you enjoy blandness.
- 1 tsp kosher salt + ½ tsp black pepper – Basic seasoning, crucial.
- 1 tsp smoked paprika – A little warmth, a whisper of BBQ.
- ½ tsp dried thyme or Italian seasoning – Optional, but highly recommended.
- 4 oz sharp cheddar, cut into ½-inch cubes – Don’t shred it. Cubes melt inside like pockets of joy.
Substitution Talk
No beef? Ground chicken works, but it’s delicate—add a bit of oil and go gentle when mixing.
Dairy-free? Use oat milk and Daiya cheddar blocks. Textures will shift, but still works.
Low-carb? Swap breadcrumbs with almond flour or crushed pork rinds. Watch salt if you do that.
Egg allergy? Flax egg (1 tbsp flax + 3 tbsp water) holds okay. Just don’t expect the same bounce.

Step-by-Step Instructions
Cheddar-Stuffed Meatloaf Morsels come together quicker than you’d think. But there’s a method to the madness if you want ’em chef-grade.
Step 1: Preheat & Prep
Preheat the oven to 400°F (200°C). Line a baking sheet with parchment or foil. Spray with oil if you like crispy undersides. Ain’t nobody want soggy-bottomed meat.
Step 2: Soak the Breadcrumbs
In a large bowl, mix breadcrumbs with milk. Let it sit for 5 minutes till mushy. This is called a panade. It’s what separates juicy meatballs from meat rocks. Don’t skip.
Step 3: Mix the Meat
Add ground beef, pork, onion, garlic, egg, Worcestershire, salt, pepper, paprika, and herbs to the bowl. Gently mix with your hands. Like you’re folding clouds. If you overwork it, the meat gets tough. Sad meat = sad guests.
Step 4: Form & Stuff
Scoop about 2 tbsp of mixture. Flatten it in your palm. Press a cube of cheddar in the center, then wrap the meat around it and roll gently into a ball. Seal the edges well or the cheese will leak like lava. And you will cry.
Step 5: Bake
Place each ball on the tray. Leave a lil’ space between. Bake 15–18 minutes until browned and sizzling. Internal temp? 160°F. Some cheese might ooze—embrace the drama.
Step 6: Optional Broil
Want a crispy top? Broil for 2–3 minutes at the end. Watch it like a hawk though—cheese burns faster than your ex ghosted you.
Cooking Techniques & Science
Cheddar-Stuffed Meatloaf Morsels rely on two fundamental meat science tricks.
1. Panade magic. Soaking breadcrumbs in milk breaks down proteins and holds moisture. Without it, your morsels dry out like corkboard. Science, baby.
2. Gentle mixing. Overworking meat compresses proteins. You want tender, not rubbery. Think massage, not kneading dough.
3. Oven roasting vs. pan frying. Baking creates even heat, less fuss, and more consistent shape. Frying? Messy, risk of breakage, but more crust. You choose your adventure.
4. Cheese cube vs. shredded. Cubes melt slow. They stay contained. Shredded melts too fast and leaks out the seams. If you want that big lava-core moment, cube it.
5. Tool talk. A small cookie scoop makes perfect portions. Meat thermometer = no guesswork. Silicone baking mats help prevent cheese cement on trays (we’ve all been there).

Serving & Pairing Suggestions
Cheddar-Stuffed Meatloaf Morsels shine hot from the oven, but you can totally fancy them up.
- Stack 3 on a skewer with pickles = instant party app.
- Serve on buttery mashed potatoes with pan gravy = comfort food nirvana.
- Toss in BBQ sauce, plate with slaw = backyard BBQ vibes.
- Drizzle with hot honey = salty-sweet contrast that slaps.
Drink pairings?
IPA for contrast, cabernet for richness, or a good ol’ Coke. Kids and grown-ups alike.
Sides that work:
Roasted Brussels, creamy mac, garlic bread, or a bright arugula salad with lemon vinaigrette. Keep it balanced, ya know?
Conclusion
Cheddar-Stuffed Meatloaf Morsels are more than a meatball. They’re juicy, gooey, tender on the inside, crispy on the outside flavour bombs. Bite-sized comfort, hidden cheese surprise. What’s not to love?
They’re also meal-prep friendly, freezable, and endlessly riffable. Swap the cheese, change the seasoning, serve ‘em Tex-Mex, Italian, BBQ-style—whatever your heart (or pantry) says.
The trick is in the details. Soak that panade. Don’t overmix. Seal the cheese. Use decent meat. And eat ‘em hot, while that cheddar’s still lava.
FAQs
Can I make these ahead of time?
Yep! Roll and stuff them, then refrigerate for up to 24 hours before baking. Or freeze raw on a tray, then store in a bag. Just add 5–7 minutes to the cook time from frozen.
What if the cheese keeps leaking out?
You’re probably not sealing the meat tight enough. Chill the formed morsels for 15 minutes before baking to firm ‘em up. Also, don’t use pre-shredded cheese—it melts too fast.
Can I use different meat?
Totally. Chicken, turkey, bison, even venison. Just be mindful of fat content. Too lean = dry. Add a tablespoon of oil or extra egg yolk if needed.
Are these gluten-free?
Not by default, but swap in GF breadcrumbs and you’re golden. Double-check your Worcestershire too—some brands sneak in gluten.
How do I reheat leftovers?
Oven or air fryer at 350°F till warmed through. Microwaves work, but the cheese might get weird. Wrap in foil to keep moist.

Olivia P. is a seasoned food blogger at Tastywink, sharing delicious, easy-to-follow recipes inspired by him passion for home cooking. With years of culinary blogging experience, he brings flavor, creativity, and a personal touch to every dish.
